


The RISE coffee brew guide
BREW BETTER.
EVERY SINGLE
MORNING.
Five brew methods. Ten golden rules. Everything you need to unlock the full potential of your coffee — from the founders of the UK's most loved specialty coffee subscription.
Start brewing ↓ALICE & BEN
KNOW COFFEE.
When we founded RISE back in 2020, we didn't just want to send people bags of coffee. We wanted to change the way the UK thinks about what's in their cup. That meant going deep.
Between us, we've spent years sourcing directly from growers across Colombia, Ethiopia, Guatemala and beyond. Ben & Alice judges at the Guild of Fine Food's Great Taste Awards — the most rigorous food and drink competition in the country. We've cupped hundreds of coffees, obsessed over extraction ratios at unsociable hours, and broken enough equipment to know what actually matters.
We're not baristas performing latte art in a hip café. We're two people who fell in love with specialty coffee and built a business around sharing it — which means we know exactly what it takes to brew an extraordinary cup at home, with whatever kit you've got.
Great coffee doesn't happen by accident. It happens when brilliant beans meet a little bit of knowledge and a lot of love. We wrote this guide so you never have to settle for a bad cup again.
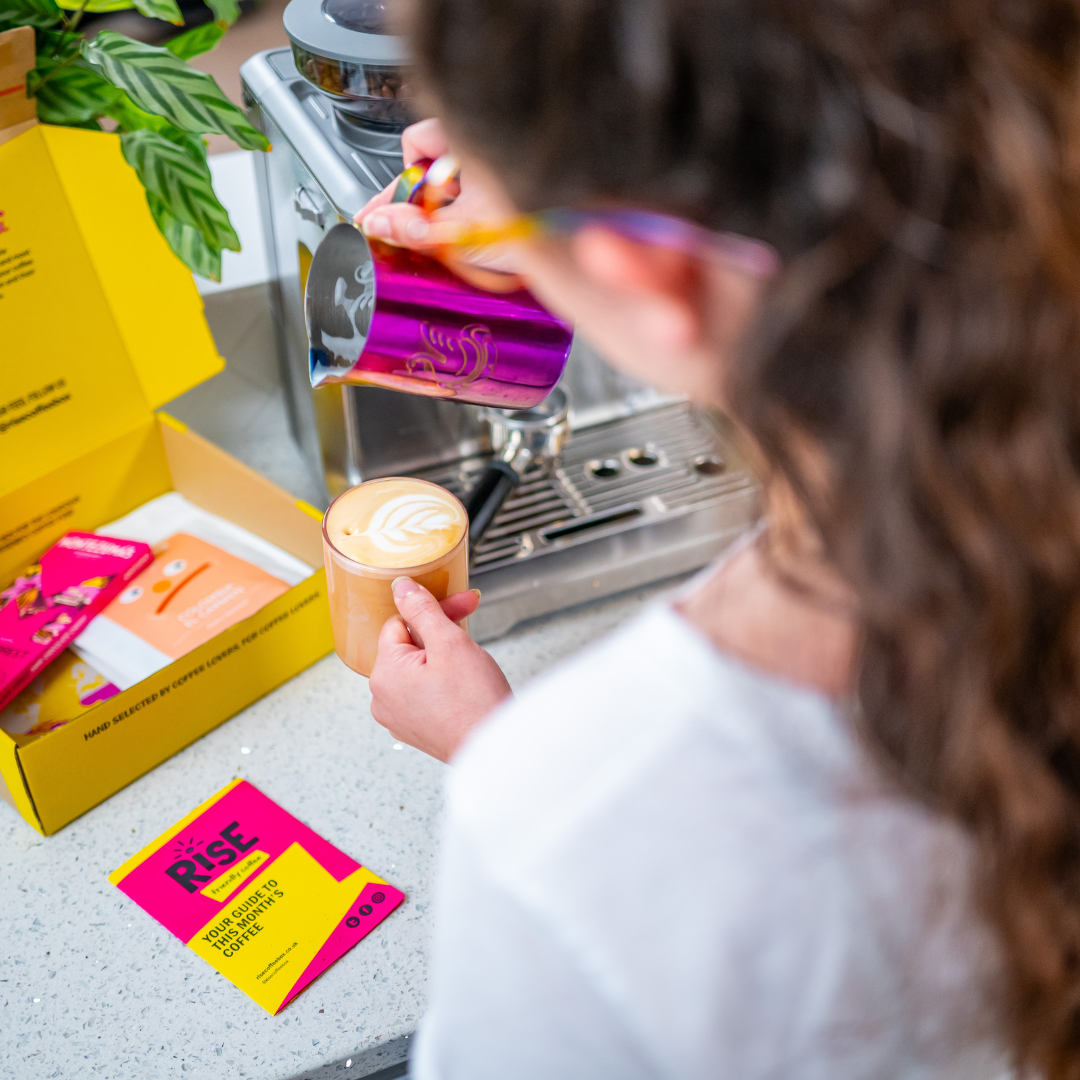
ESPRESSO MACHINE
Espresso is the foundation of every great café drink — and the most technically demanding method you can brew at home. Get it right and you'll never pay £5 for a flat white again. The good news? Once you understand what you're actually doing, it becomes genuinely addictive.
Dialling in means adjusting your grinder until the shot extracts at the right speed and tastes balanced. This single skill separates good espresso from extraordinary espresso.
Start at a medium-fine grind setting and pull a shot. Time it from when the pump starts to when you hit your target weight.
Shot ran in under 25 seconds? Grind finer. Over 32 seconds? Grind coarser. Make one small adjustment at a time.
Taste it. Sour and sharp? Under-extracted — grind finer or increase dose. Bitter and harsh? Over-extracted — grind coarser or reduce dose.
Aim for a 1:2 ratio — 18g in, 36g liquid out. Put a scale under the cup. Weigh your yield every time.
Found your sweet spot? Write it down. Every new bag may need a small tweak — even from the same roaster.
Distribute the grounds evenly before tamping. Use a finger or distribution tool to level the bed — uneven distribution causes channelling.
Apply firm, even downward pressure — around 15–20kg. You don't need to be Hercules about it.
Keep your wrist perfectly straight and tamp completely level. A tilted tamp = uneven puck = channelling = ruined shot.
Finish with a gentle polish twist, then lift straight up. The puck surface should be flat and smooth.
Preheat your portafilter and cup. Cold metal drops brew temperature and kills the shot before it starts.
CAFETIERE
The most forgiving brew method on the planet — full-bodied, rich, and beautifully simple. It rewards great beans and punishes impatience. There's a reason it's in virtually every UK kitchen.
Preheat the cafetiere with boiling water, swirl and discard. This stops your brew temperature dropping the moment you add coffee.
Add coarsely ground coffee. Coarse is key — think breadcrumbs, not sand. Fine grind is the number one cafetiere killer.
Pour hot water (94–96°C) over all the grounds. Saturate everything evenly. Give it a quick stir to knock down any dry floating coffee.
Lid on, plunger up. Set a 4-minute timer. Walk away.
At 3:30, use a spoon to skim the crust of floating grounds off the top. This is the pro move most people skip — it gives a noticeably cleaner cup.
Press down slowly and steadily. Don't rush — pressing fast forces sediment through and muddies the cup.
Pour immediately. The grounds are still in contact with the liquid — they'll keep extracting and turn everything bitter if you leave it.
V60 POUR OVER
The darling of specialty coffee shops — and rightly so. The V60 produces a clean, bright, extraordinarily complex cup that shows off a great single-origin like nothing else. It takes some practice. The results are absolutely worth it.
Rinse the paper filter with hot water, then discard. Removes papery taste, preheats the brewer. Don't skip this — you can genuinely taste the difference.
Add ground coffee and shake gently to level the bed. A flat, even coffee bed is the foundation of a good V60.
Start timer. Pour 30–40g for the bloom — twice the weight of coffee. Saturate all grounds. Wait 30–45 seconds. Watch it bubble and expand — that's CO2 from fresh coffee.
Begin main pours in slow, steady circles from centre outward. Pour in 3–4 stages, letting water draw down slightly between each.
Finish all water by 2:00–2:15. Total drawdown should complete between 2:30 and 3:00. Faster = grind coarser. Slower = grind finer.
The coffee bed should be completely flat at the end. Flat = perfect technique. Domed or steep-sided = pour needs work.
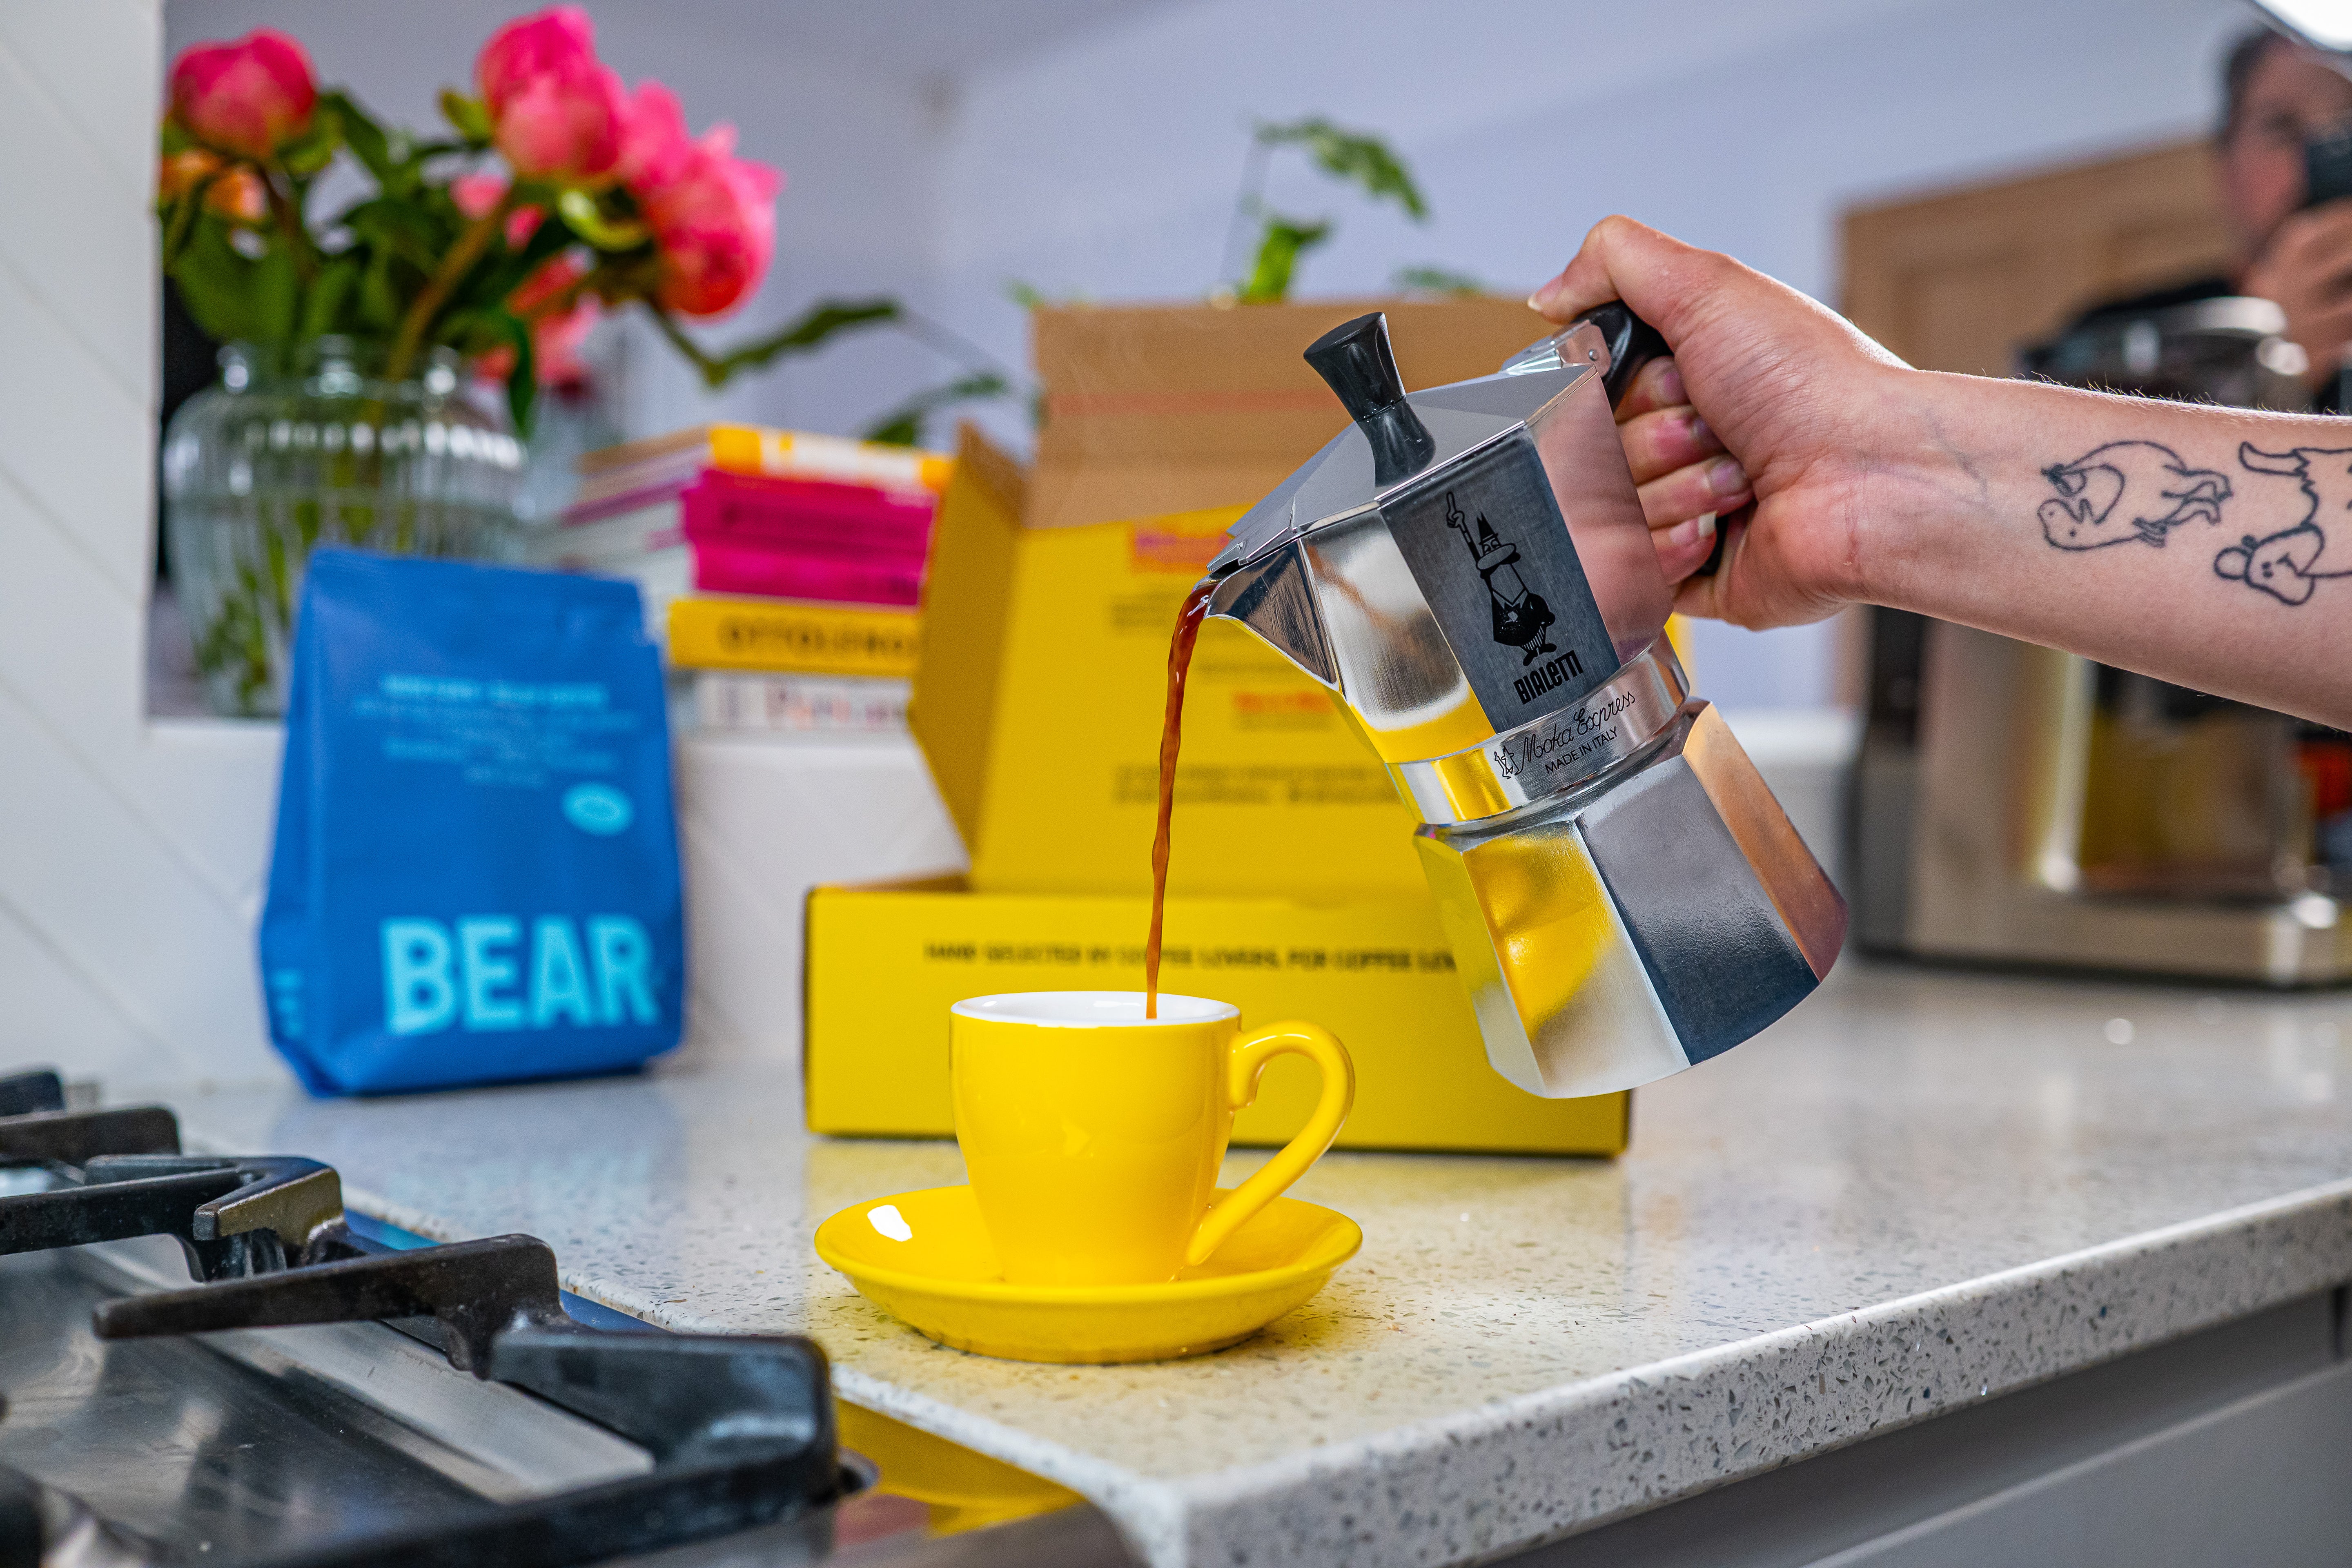
MOKA POT
The stovetop icon that's been on Italian kitchen hobs since 1933. Not true espresso — it brews at lower pressure — but it produces a bold, intensely flavoured coffee that's perfect with milk or sipped straight. Virtually indestructible. Lasts a lifetime.
Fill the bottom chamber with hot water from the kettle up to just below the pressure valve. This reduces time on the heat — the single most impactful technique change you can make.
Fill the basket with ground coffee. Do not tamp. Level gently with your finger. Tamping restricts flow and causes catastrophic over-extraction.
Screw together firmly. Use a tea towel — the base will be hot. A loose seal means steam escapes and ruins the brew.
Place on medium-low heat with the lid open. Watch and listen.
When you see golden coffee flowing and hear a gentle hiss, it's nearly done. Remove from heat just before the sputtering finale — those last drops are bitter.
Run the base under cold water to stop extraction immediately. Pour and drink straight away.
AEROPRESS
The most versatile brewer ever invented. Almost impossible to mess up, produces a smooth, low-acid cup in under two minutes, and fits in a carry-on bag. It has a world championship dedicated to it. Here's a brilliant starting point using the inverted method.
Place the AeroPress upside down with the plunger pushed in just past the 4. This seals the bottom so water doesn't drain before you're ready.
Add ground coffee, then pour in hot water. Stir vigorously to saturate every ground. No dry pockets.
Add the filter cap with a rinsed paper filter inside. Set timer for 90 seconds. Let it steep.
At 90 seconds, place your cup over the cap. Flip confidently in one smooth motion. It's scarier the first time than every time after.
Press down slowly over 20–30 seconds. Stop the moment you hear hissing — that's air, not coffee. Pushing further extracts bitterness.
Dilute to taste with hot water. The AeroPress produces a concentrate by default — add water until it's exactly how you like it.
10 TIPS THAT WILL
CHANGE YOUR CUP
Use specialty grade beans
Specialty coffee scores 80+ on the SCA scale. Traceable, carefully processed, and tastes completely different to supermarket coffee. Bad beans cannot be rescued by good technique — start here.
Grind fresh, every single time
Coffee goes stale within minutes of grinding. Pre-ground is significantly degraded before it reaches you. A burr grinder — even a cheap hand grinder — is the single best upgrade you can make.
Use filtered water
Coffee is 98% water. Hard tap water dulls flavour and destroys equipment with limescale. A simple Brita filter makes a genuinely noticeable difference in the cup. Non-negotiable.
Weigh everything
Scoops are inconsistent and imprecise. A basic kitchen scale takes the guesswork out of your dose entirely and lets you repeat great results reliably. If you're not weighing, you're guessing.
Buy fresh roasted coffee
Look for a roast date, not a best-before date. Coffee is at its best between 7 and 30 days after roasting. Before that, too gassy. After 6 weeks, the magic fades fast.
Nail your water temperature
Boiling water burns coffee. Let the kettle sit 30 seconds off the boil, or use a variable temperature kettle. 92–96°C is the sweet spot for most methods.
Clean your equipment religiously
Coffee oils go rancid fast and taint every brew they touch. Rinse after every use. Deep clean weekly. A clean machine tastes dramatically better than a dirty one — full stop.
Store coffee properly
Airtight container, away from light, heat and moisture. Not the freezer (condensation). Not next to the kettle (heat). A dark cupboard at room temperature is genuinely ideal.
Match the roast to the method
Light roasts sing through a V60 or AeroPress. Medium roasts shine in espresso and cafetiere. Dark roasts suit moka pot. These aren't rules — they're brilliant starting points.
Learn to taste and adjust
Sour and sharp = under-extracted (finer grind, hotter water, longer time). Bitter and harsh = over-extracted (coarser grind, cooler water, shorter time). Your palate is your best tool.
GREAT COFFEE IS
A SKILL WORTH
LEARNING.
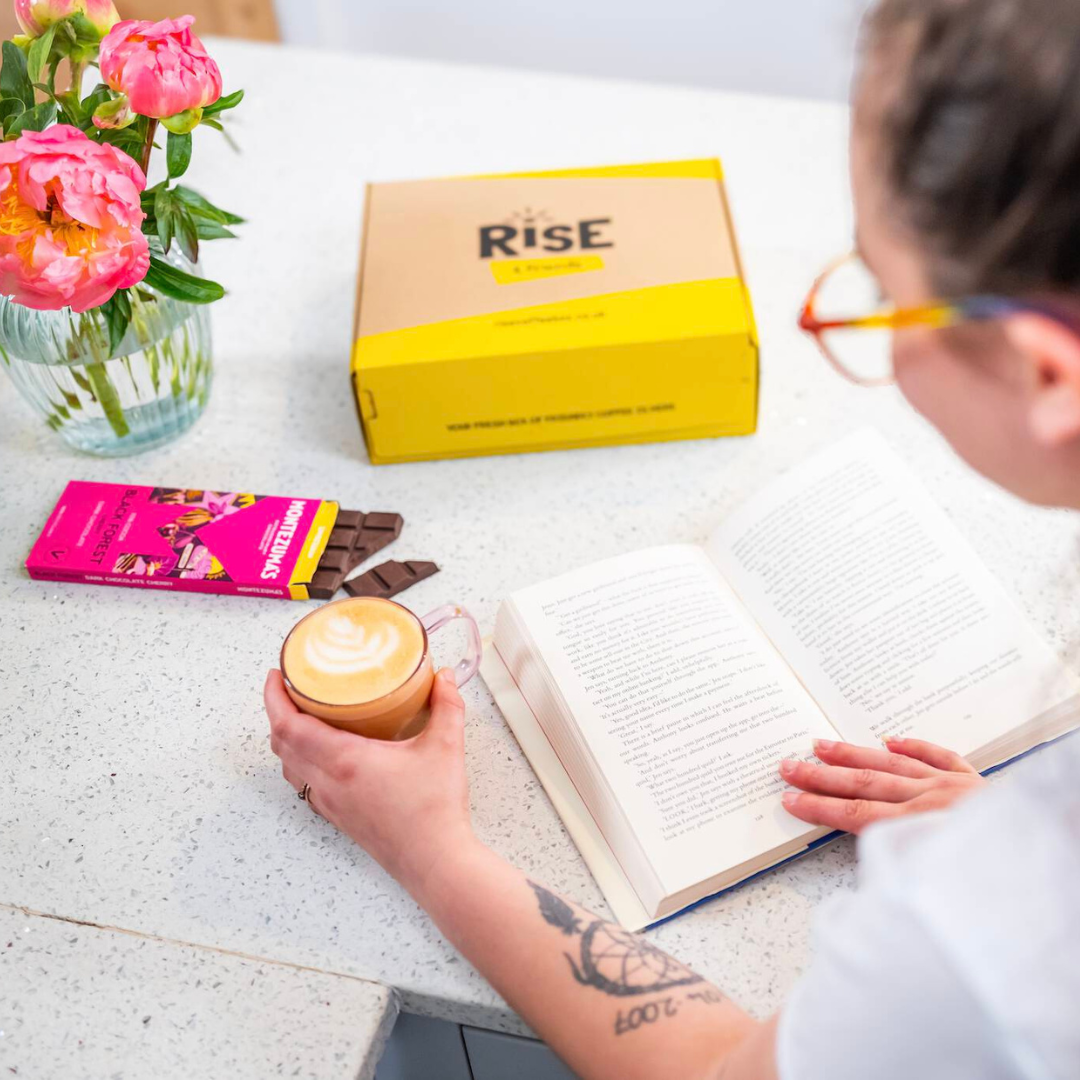
We wrote this guide because we genuinely believe that the best cup of coffee you'll ever drink can be made at home. Not in a fancy café. Not with a machine that costs more than a small car. At home, with good beans, a bit of knowledge, and a little patience.
Every method in this guide has been brewed, tested, argued over, and loved by us — often before 7am. The biggest thing we've learned? Start with exceptional beans and the rest becomes much, much easier. That's why we built RISE.


MONTHLY COFFEE DELIVERED TO YOUR DOOR
Leave a comment