


101 Guide On How To Create Latte Art
HOW TO CREATE LATTE ART
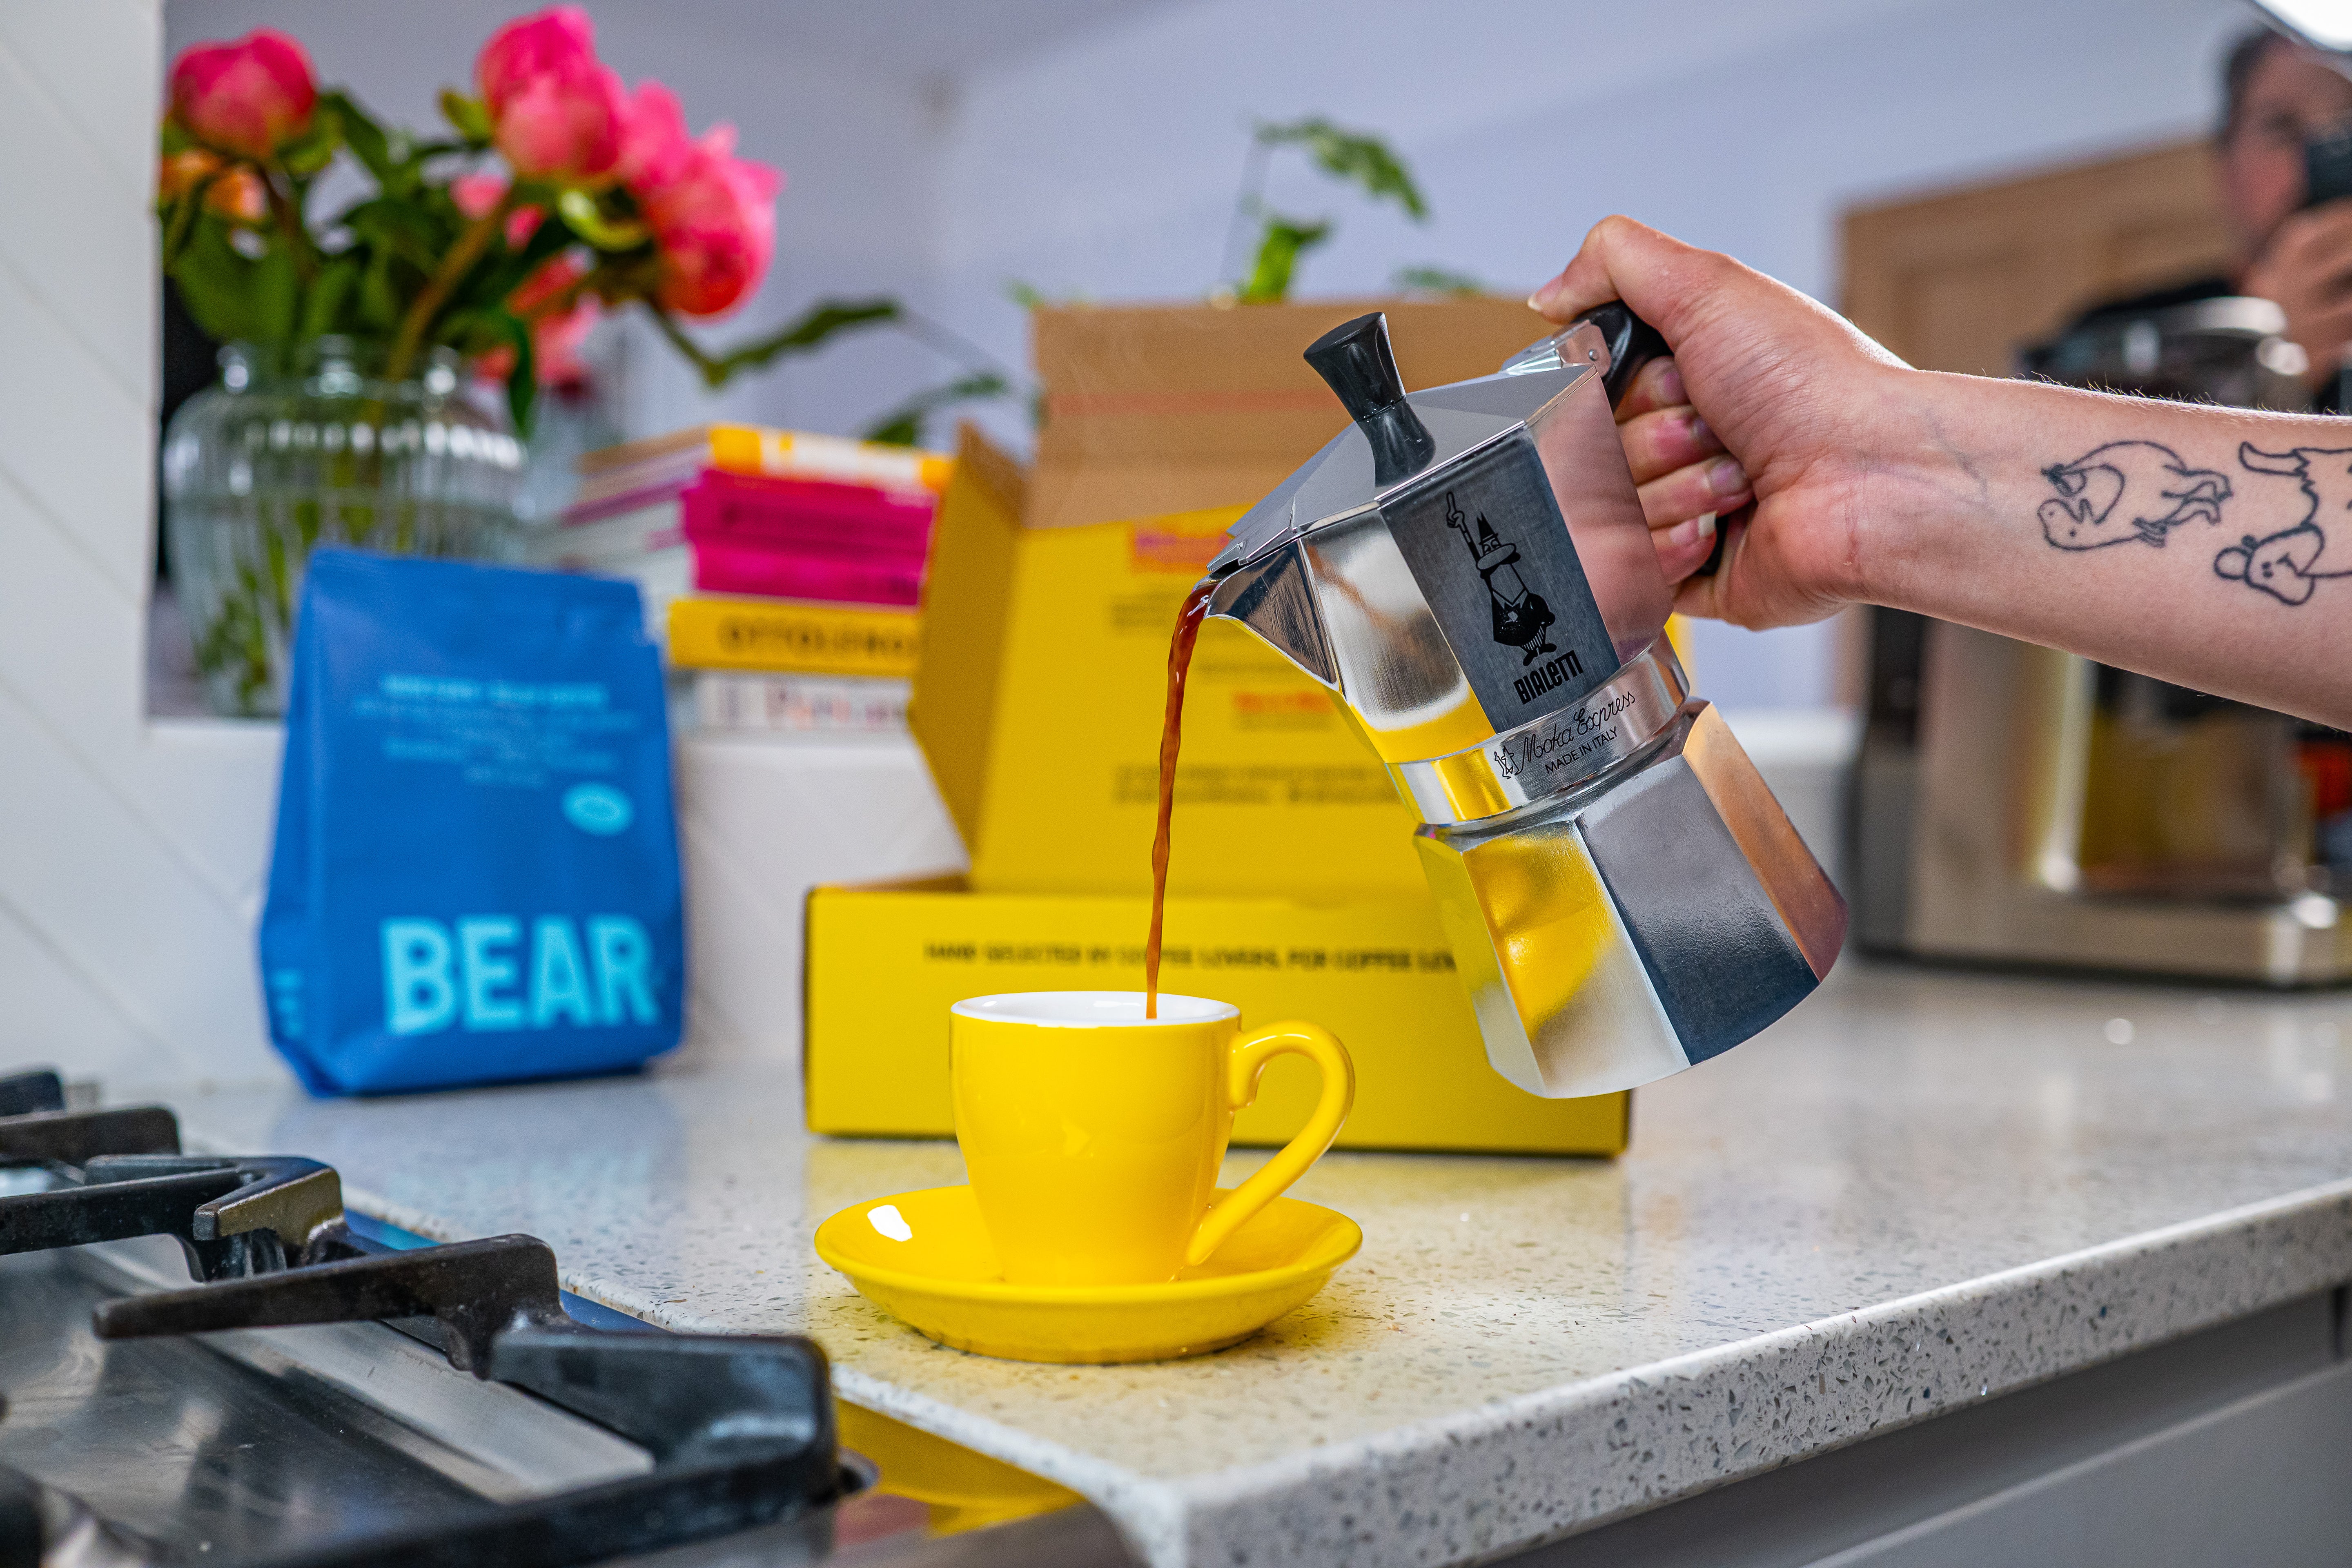
STEP 1 - Make your coffee
Make your coffee (espresso) and get your milk ready (see our post on how to froth your milk). Use specialty coffee from your RiSE coffee subscription or from any other independent coffee roaster (avoid instant, please!)
STEP 2 - Get in position
Tilt your cup with your coffee in at a 45 degree angle. With the milk in the other hand, hold it about 4 inches above your coffee cup.
STEP 3 - Pouring
Begin slowly pouring your milk into the centre of your coffee, maintaining that 4 inches height, then move around the cup to mix in the milk.
STEP 4 - More pouring
Once the liquid has almost reached the edge of the cup, and the cup is around two-thirds full, stop pouring, but keep the cup tilted. Bring the jug of milk down as close as you can to the centre of the coffee and begin pouring again, this time faster than you did before.
STEP 5 - Slow the pour
As the cup fills, tip it back to level. This will prevent it from overflowing and also push your design to the proper spot.
STEP 6 - Classic Latte shape
Now for the shape. Slightly raise the jug, and slowly bring your hand back to strike through the centre of the coffee cup, trying to keep everything as centered and symmetrical as possible.
This will give you the classic “101” latte shape we all know and love.
STEP 7 - Practice a few times
Chances are you won’t get this perfect on your first try, it may take some time. Don’t get discouraged! Practice, practice, practice, and you’ll nail it.


MONTHLY COFFEE DELIVERED TO YOUR DOOR
Leave a comment